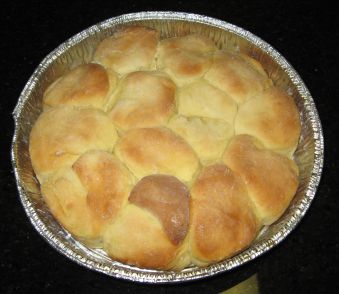
My mother used to be an assistant district attorney in Beaumont, Texas. The county jail was in the same building, a few floors above. The jail cafeteria made these rolls regularly (at least when the grand jury was in session, I don’t think they made them for the prisoners), and they smelled so good while my mother was at work that she had to ask for the recipe. They are a holiday MUST for our family now. My mother and I used to make pans and pans of them to give as teacher gifts at Christmas and it would be unthinkable to have a meal with the extended family without them. My kids (and Hubby, and my dad) go CRAZY for them. They are rich, moist, yeasty and YUMMY. My mother insists that using margarine (instead of butter) and instant mashed potatoes (instead of “real” ones) provides a lighter texture. That does go against my real/slow/whole food philosophy, but I must admit that I wouldn’t change a thing about the way these rolls taste, so she must be right.
“Jailhouse” Rolls
1 cup mashed potatoes (reconstituted instant ones recommended)
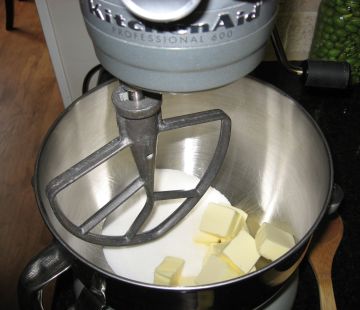
2 sticks margarine
3 eggs
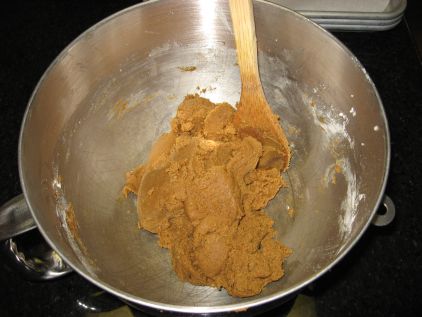
7 cups flour
1 cup sugar
1 1/2 cups lukewarm water
1 package dry yeast
1 scant teaspoon salt
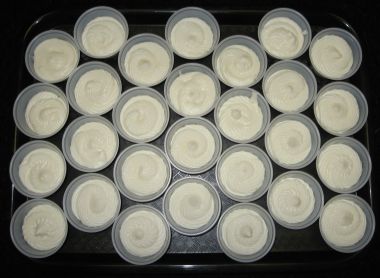
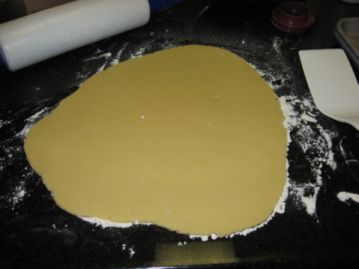
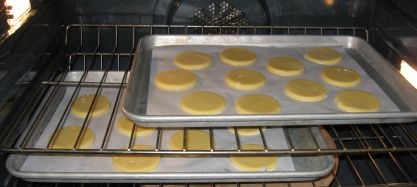
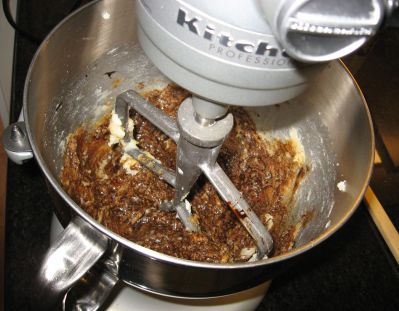
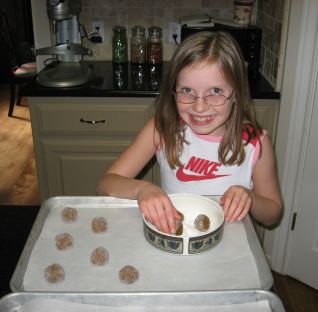
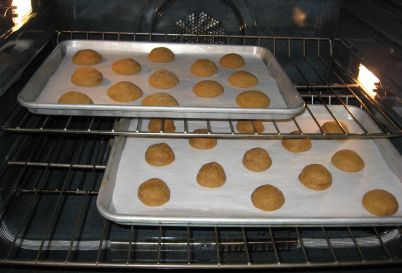
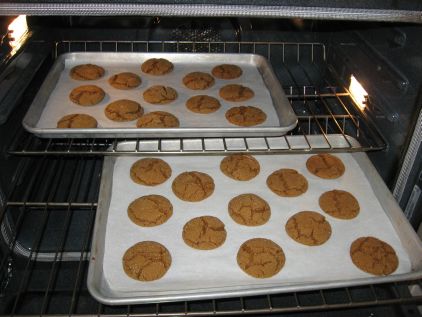
Mix yeast in water; blend and set aside. Mix potatoes, eggs, margarine, sugar and salt. Add flour. Add yeast water. Mix. Place in a greased bowl and cover with a cool, damp cloth. Refrigerate for 2 hours. Remove from refrigerator. Roll dough out to about 3/4 inch thickness and cut with a biscuit cutter. Place in buttered pans (8″ round cake pans work well). Brush the tops with melted butter and let rise for several hours. Bake at 450 degrees for 10 – 15 minutes until lightly browned on top.
Cinnamon Roll Version
(too delicious for a description to do them justice – just trust me)
1 recipe prepared Jailhouse Roll dough
for cinnamon rolls:
1/4 cup margarine, melted
1/4 cup sugar
1/4 cup brown sugar
1 tsp. cinnamon
1/2 cup chopped pecans (optional, unless you’re making them for me)
1/2 cup golden raisins (optional)
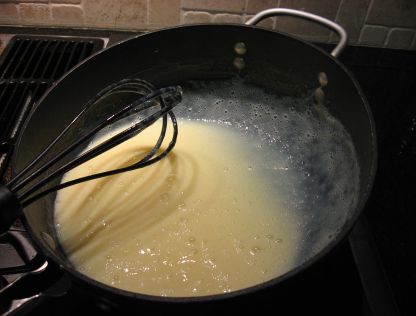
for icing:
2 cups powdered sugar
2 Tbsp margarine
1/2 tsp vanilla
2 or 3 Tbsp milk
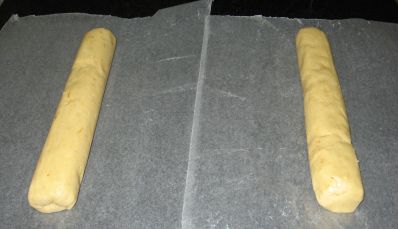
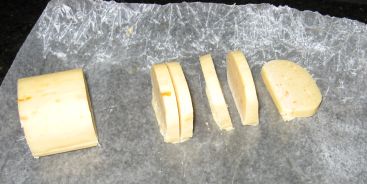
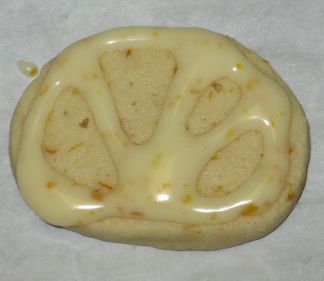
Prepare dough as above. Divide dough in half after removing from the refrigerator. Roll each dough half into a large rectangle. Brush each rectangle with melted butter. Sprinkle each with a mixture of the sugar, brown sugar and cinnamon. Add chopped pecans and/or golden raisins to each rectangle, if desired. Roll rectangle into a log. Cut into 3/4 inch slices and place in a buttered pan. Let rise for several hours. Bake at 450 degrees for 15 minutes. Let rolls cool in pan. Mix together powdered sugar and butter in the food processor. Add vanilla and milk. Drizzle over cinnamon rolls and DEVOUR.