
I have a confession to make. I’ve been keeping something from you. I haven’t told you about Bernard. Bernard has been living with me for a few months now. He is exceedingly attractive, but is also highly adaptable and a very hard worker. He must be tenderly cared for, but is able to withstand very heavy duty. We’ve enjoyed each others’ company immensely. We’ve been doing lots of cooking together. Hubby has learned to tolerate Bernard, but he’s not as enamored with him as I am. I, for instance, am the only person allowed to “bathe” Bernard. Bernard and I met at a charming little shop called Sur la Table. A customer-service glitch caused me to be offered a one-time 25% off discount, which enabled Bernard to be able to come home with me. We have joyfully welcomed him into our home and are eager to tackle many future projects with him.

So, after I brought Bernard home, the first thing that we tackled together was this Black Bean Chili. This was one of my mother’s recipes and I have NO IDEA where it came from, so please forgive my potential plagiarism.
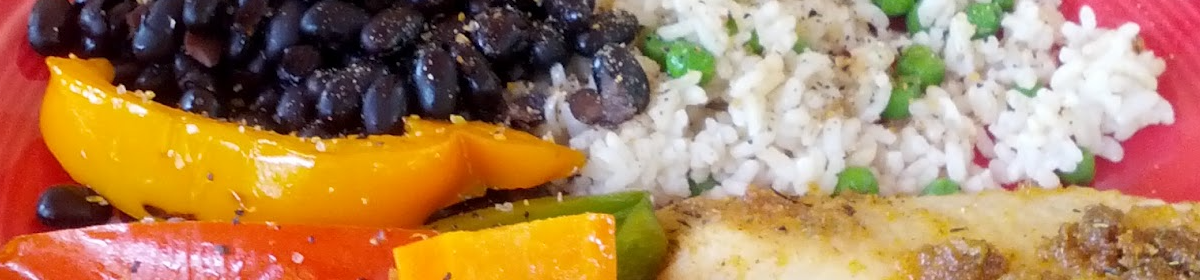
Vegetarian Black Bean Chili
2 cups black beans, soaked in water overnight and then drained
1 bay leaf
4 teaspoons cumin seeds
4 teaspoons paprika
4 teaspoons dried oregano
1/2 teaspoon cayenne pepper
2 or 2 teaspoons chili powder (I add more!)
3 Tbsp canola oil
3 medium-sized white onions, diced
1/2 teaspoon salt
4 garlic cloves, chopped or pressed
1 Tbsp vinegar (balsamic is great, but plain white will do)
1 1/2 pounds ripe or canned tomatoes, drained and chopped (save the juice)
4 Tbsp chopped fresh cilantro
1 or 2 teaspoons chopped chipotle chili
Cover beans with fresh water in a very large pot and bring to a boil with the bay leaf. Lower heat and simmer. Heat a medium-sized heavy skillet. Add cumin seeds and saute until toasted. Add oregano, stirring frequently. Remove from heat, then add paprika and cayenne. Stir, remove from pan and grind to a coarse powder in a (spice-dedicated) spice or coffee mill (or with a mortar and pestle.) Heat oil in a large skillet and saute the onions until softened and translucent Add the garlic, salt, ground herbs and spices and chili powder and cook for 5 minutes. Add the tomatoes, juice and 1 teaspoon of the chipotle. Simmer for 15 minutes. Add the mixture to the beans and add water, if necessary, to cover beans with liquid by one inch. Cook until beans have softened to your desired consistency (about one hour?) Stir in more chipotle (if desired,) vinegar and cilantro. Serve topped with cheese or sour cream and more chopped cilantro.
Chili-Lime Corn on the Cob recipe here.
Bonus chipotle tip:
Every recipe I’ve ever had that has called for chipotles has called for one or maybe two, yet there are probably a dozen of them in the average can (plus all of that wonderful adobo sauce!) How to solve this issue? After you open a can, pull the remaining chipotles out of the can gently with a fork and place them an inch or two apart on a wax paper-lined baking sheet and freeze them. I dollop the remaining sauce from the can onto the top of each chipotle before freezing, too, so each one will have plenty of that saucy goodness on it. When the chipotles have frozen solid (overnight?,) gently peel them off the waxed paper and place them in a ziploc bag and freeze them until needed. You can more easily pull them out, on at a time, in the future that way.