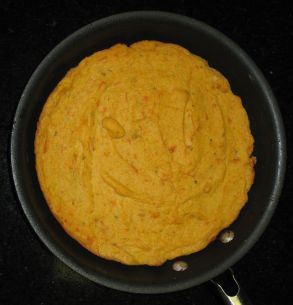
I made another batch of these gnocchi today. I didn’t cook the sweet potato as long as I did the first time (not intentionally), so when I went to mash it into the dough, it didn’t “mash” as evenly and smoothly as it did the first time and I was left with some small chunks of sweet potato in the dough (see photo below). I’m sure they will end up fine, since they will be boiled before eating and the sweet potato will soften up, but the dough did require quite a bit of flour (3/4 cup?) to roll it out, when it didn’t require ANY the first time. So, if any of you decide to make these, make sure that your sweet potatoes are cooked VERY well – soft enough to mash smoothly without any lumps. It’s only a difference of a minute or two in the microwave, but it will make your life MUCH easier when you go to shape the gnocchi. It also seems to help to chill the dough in the fridge for a while (even overnight) before rolling it out. I did that last time, but did not do it this time. I also skipped the whole fork-rolling thing. It didn’t make any difference in how they tasted or how they cooked, and once they boiled and swelled a bit, you couldn’t see that little detail, anyway. I’ve also discovered that you should just ignore the recommended boiling time. Just boil them until they float to the top of the pan – that is the traditional (non-sweet potato) gnocchi cooking technique. It works fine for these, too, and is much easier than timing. They turn out just right this way. Girl helped me make these. We are freezing some of them and will try to pull them out and cook them tomorrow to see how they hold up to the freezer.
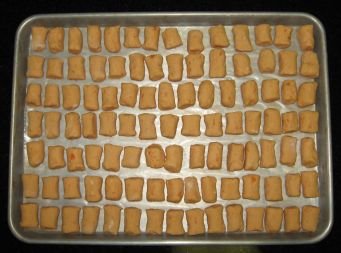
A tray of gnocchi, ready to go in the freezer. I’m going to freeze them on the tray until they freeze solid, and then will transfer them to a big Ziploc bag. I’m planning to put them right in the boiling water, without thawing them first. Jennifer – I’ll let you know how they turn out!