
Recipe here.
Delicious, very easy and great for a hostess or thank you gift.
The leading authority on basketball cupcakes and Basil-Lime martinis…

Recipe here.
I made this recently on a lazy afternoon at home, when we had eaten a large, late breakfast and had a nice dinner planned, so we didn’t feel like a full lunch. It made a perfect light and relatively healthy snack to tide us over until dinner.. The kids even liked it and the ingredients are all things that are easy to keep on hand, so it would make a great last-minute hors d’oeuvre for unexpected guests. This would work with almost any kind of bread (I used a country loaf and just cut each slice in half to make each piece smaller) and wouldn’t HAVE to be baguette. We have mint growing in our yard, so we always have it on hand, but if you didn’t have any and chose to leave it out, it wouldn’t be the end of the world. I left the prosciutto off the top, because it was a last-minute thing and I didn’t have any, but it would have been nice. A little cooked, cooled and crumbled bacon would be nice, too. Or, you can go vegetarian, as I did, and cook the peas in vegetable stock, rather than chicken stock. Yum.
Yum. We love artichokes around here and are always so excited when we start to see them in the springtime. It seems a little early this year, since it’s still unseasonably frigid right now, but we love ’em, so we’re going for it.
Stay tuned and I’ll show you how to disembowel these suckers and get ’em fit for human consumption. You do have to wonder what the first guy to try to eat these was thinking. He must have been pretty freakin’ hungry to even attempt it; these things are a lot of work for not a lot of sustenance, but, what tasty sustenance it is!

Lop off the bottom of the artichoke. Leave maybe an inch of the stem. Remove any small, shrimpy leaves from around the stem – there are usually 4 or 5 that are inedible and just in the way…

Off with her head! Chop off the pointy top of your artichoke – maybe an inch or an inch and a half.

This is about what it should look like.

Trim off the pointy edges of each leaf with scissors or kitchen shears.


This is what your fully-prepped artichoke should look like.

Give the entire artichoke a quick rinse in some running water, if you’re finicky. Them rub down all of the cut surfaces (top, bottom and leaf tips) with half of a lemon, squeezing a bit of the juice onto the artichoke as you go.
Repeat with as many artichokes as you are planning to cook. I can only fit 4 in my largest stockpot, so that’s what we usually do. For a family dinner, we usually will each have our own artichoke as a first course, but if I’m serving a crowd, I’ll make some for everyone to share.
Place the artichokes in a very large stock pot and cover them with water. Sprinkle in a generous amount of kosher salt and squeeze the rest of the lemon juice into the water, too. Or just throw the lemon in the pot. Whichever.
Cover the pot and cook over high heat until the artichokes are soft enough that you can pull a leaf off, but not so soft that they’re falling apart. This can take up to an hour, but I’d start to check them after about 40 minutes. This is the only tricky part, but even if they’re a bit overcooked, they’re still pretty fabulous. Undercooked, however, is NOT good, so err on the side of cooking them to long, if you’re in doubt.
While they’re cooking, you can make the dipping sauces. The first sauce is VERY easy: Get a ramekin. Put about 6 Tbsp of butter in it. Melt it in the microwave. Sprinkle a little kosher salt in it if you used unsalted butter (which you should be doing, by the way, but that’s a whole other topic…)
The second sauce isn’t much more difficult. Mix the following ingredients together in another small bowl or ramekin:
1/3 cup mayonnaise
1 garlic clove, minced or pressed
a sprinkle of kosher salt and freshly ground pepper
a little squeeze of fresh lemon juice (about 1 teaspoon)

When the artichokes are done, pull ’em out of the water (be careful – use BBQ tongs) and serve ’em along with the dips.

To eat ’em, pull the leaves off, one at a time, drip them in the sauce of your choice (or naked’s good, too) and use your teeth to scrape the meat off of each leaf.

Once you get to the center of the artichoke, you’ll see a fuzzy thing that looks like the inside of a flower (well…it kind of *IS* the inside of a flower.) This is called the choke.

You don’t want to eat that, so gently pull out that fuzzy choke with your fingers (if it’s cooled down enough) or a gently scrape it out with a spoon and discard it. That bottom (under the choke) part?

Well, that’s your reward for all your hard work, baby…that’s the artichoke heart. Dip it in some butter or aioli (that’s the fancy name for that mayo sauce we made earlier) and DIG IN. If you’re really disciplined (or full,) you can save it, after you eat all the leaves, and toss it into an omelet for your breakfast the next day. Yum.


Recipe here.
Mmmm…what is there to say? Probably my favorite dessert EVER. A true classic. Buttery, crispy crust and tangy, creamy lemon filling? Yes, please. These were easy and wonderful. The recipe, as is not uncommon, makes a bazillion lemon bars, so send them in for your kids to share with their classmates and teachers or you’ll still be eating lemon bars next year sometime.

Recipe here.
These were wonderful. Even dried fruit-hating Hubby and Boy liked them. They are easy to make, but the texture is perfect. Crumbly and moist at the same time, with a rich and creamy flavor. I will absolutely be making these again.
One caveat: this recipe makes a TON of scones and one scone is very filling, so I would plan to make these when you have company, or plan on serving them as afternoon snacks or for two breakfasts or give some away or freeze some. As good as these were, we were getting a bit tired of them on the third day. After a day or two, also, the icing starts to sink into the scones and the texture suffers a bit. These are definitely best when they’re fresh, so invite some people over for breakfast to help you eat these!


Recipe here.
These were deliciously cakey and rich. The sour cream added a really wonderful flavor. Of course, when YOU make them, you’ll remember to add the crumb topping BEFORE they go in the oven (instead of 12 minutes into the baking time,) so that they’ll be even prettier and better…
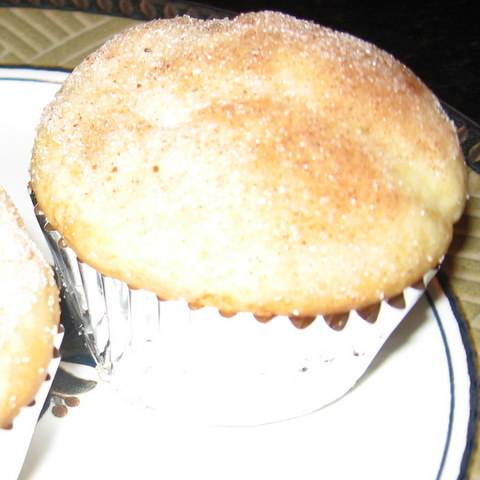
These are really yummy…much better than my too-light photo makes them look.
You can even put blueberries in them…or whatever other additions you prefer.
Recipe here.


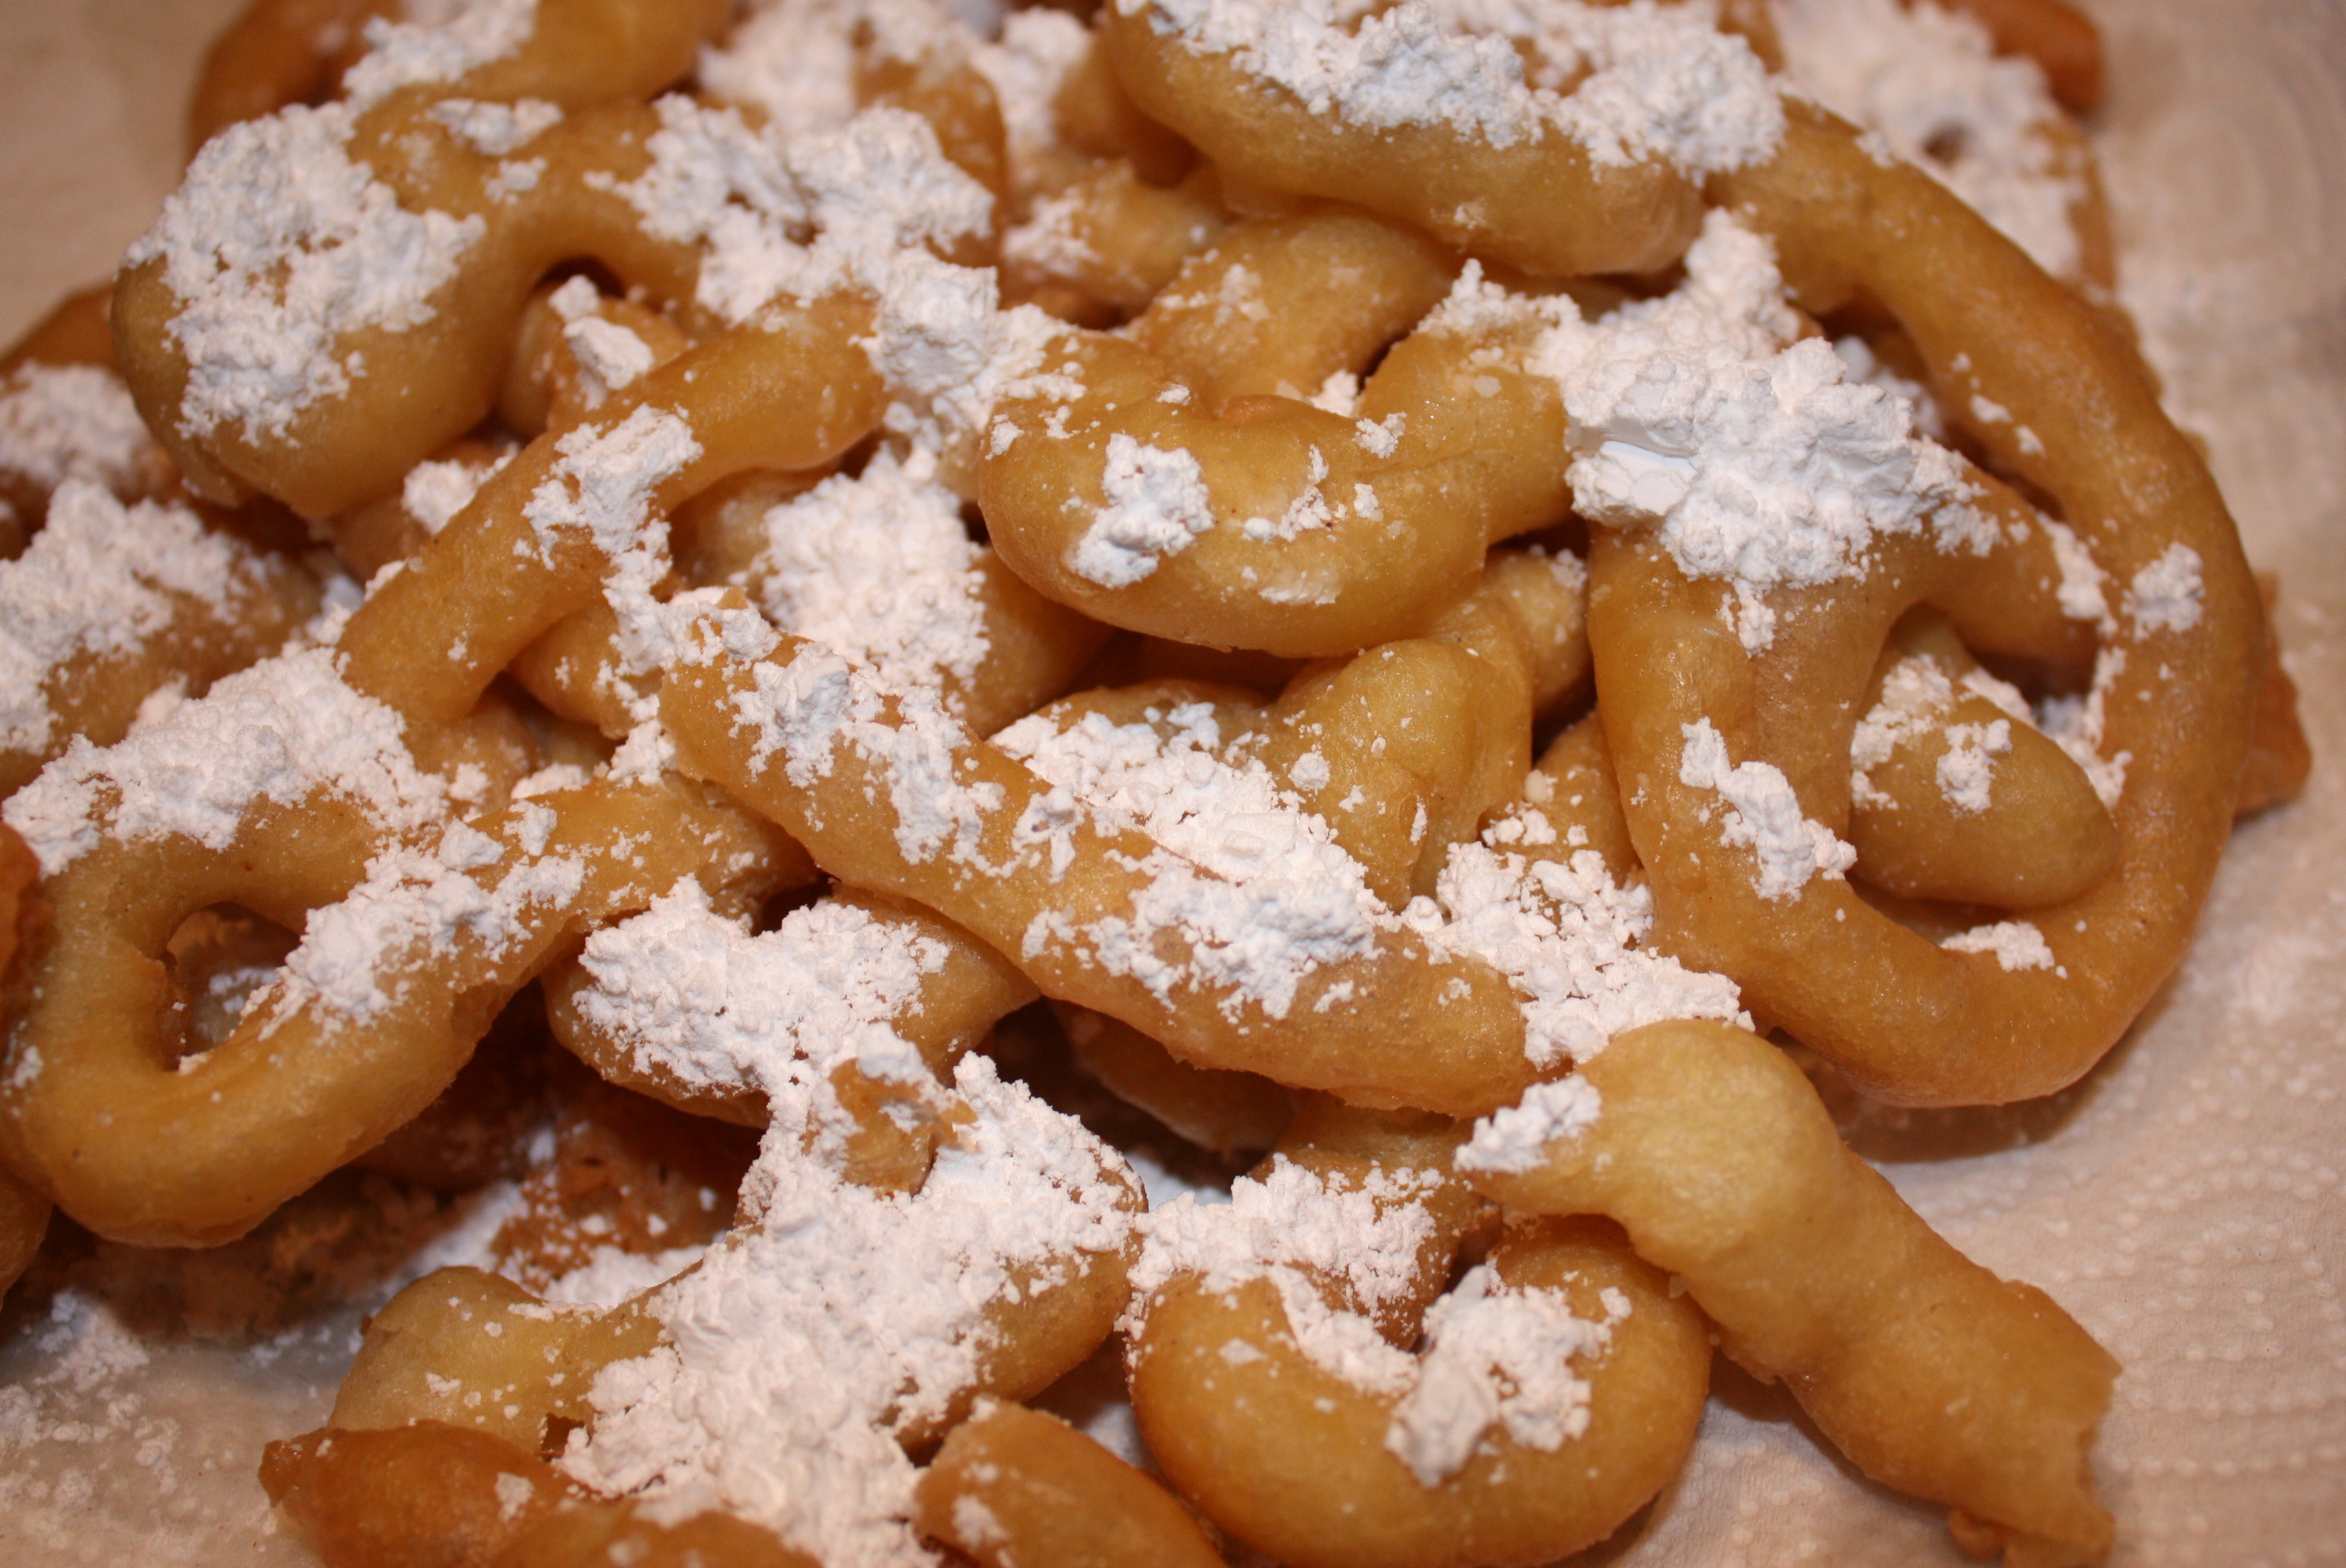
As a family, we love amusement parks. We have been to ones all over the South, from Texas (SixFlags and SeaWorld) to Florida (Disney/Epcot, Universal, SeaWorld/Discovery Cove) to The Carolinas (Carowinds) to Virginia (Kings’ Dominion) and many more. One of our favorite treats (the very last thing, before leaving the park) is to share a funnel cake together.
Well, it’s been a really long time since we’ve been to a park (July, and that was only Boy and me,) so I decided last night to make one of these critters for us. I halved Alton Brown’s recipe (since we didn’t need 10…our tradition is to share one) and I made it as one giant, funnel cake, as it is traditionally served at our beloved amusement parks.
Fabulous. A little difficult to turn over in the pan, but WELL worth the effort.


